Final Blog Post
By: Marina Dawson
After hours in the Think Tank, the classroom, and in my dorm on my computer, I can finally look back and reflect on my work. I have made tremendous progress and utilized more commands than I ever knew I could memorize. I am incredibly proud of myself and I feel as though I can clearly see my progress through each image of my work.
Assignment 1: Designing a Castle
At the beginning of class, I felt as though I was in over my head, I hardly remembered how to differentiate between a closed and open polysurface and therefore became frustrated when my boolean difference and union commands weren't functioning. I spent hours just trying to get basic extruded polygons on my plane, let alone re-learning basic render tools such as creating an awkward cloud background.

Although the castle turned out okay, I felt it lacked creativity and uniqueness because I was so limited on time and constantly struggled. By the second week, I even became insecure about what I had created when compared to my peers. Although I knew I should have been happy with the end result because I worked so hard, I was frustrated about getting caught up on rhino the whole time.

Project 2: Surface Design
When getting assigned this project I felt quite confident with this project because I had taught myself the mirror tool. I also remembered how to use the copy function when using commands such as move and rotate. Because I revised these commands during the castle project, I was able to create this project in a fraction of the time I spent in the prior assignment because I learned faster and more efficient ways to work in 2D.

Overall, I believe this assignment was a milestone because I began to regain my confidence in Rhino and finally started to use new and old commands to make the creation of this pattern a genuinely fun assignment.

Project 3: Laser Cut Sample
Going into this project, I felt uneasy with the sample because my only prior experience was laser cutting a paper craft object, and creating an object out of wood felt like a step I was unprepared for. I struggled quite a bit with configuring the hatchings to the depth of the object, initially using color gradients that were far too light to see any of the details. However, after spending two hours in the lab with Jessica, I found that once I had gotten the hatching figured out for how I wanted the object to be engraved, the laser-cutting process was much easier and faster than I initially thought.


Project 4: Reverse-Engineered Object
At the beginning of the project I felt incredibly overwhelmed, I felt that I struggled with the demo of how to create a spring and some of the small details and commands felt confusing. I knew I was in over my head, especially when I had pulled out my digital caliper and had over 60 different measurements for such as a tiny perfume atomizer. However, I realized that many of the tedious parts of the project were completed once I had my measurements, and I had all the necessary tools to create the object as accurately as possible.
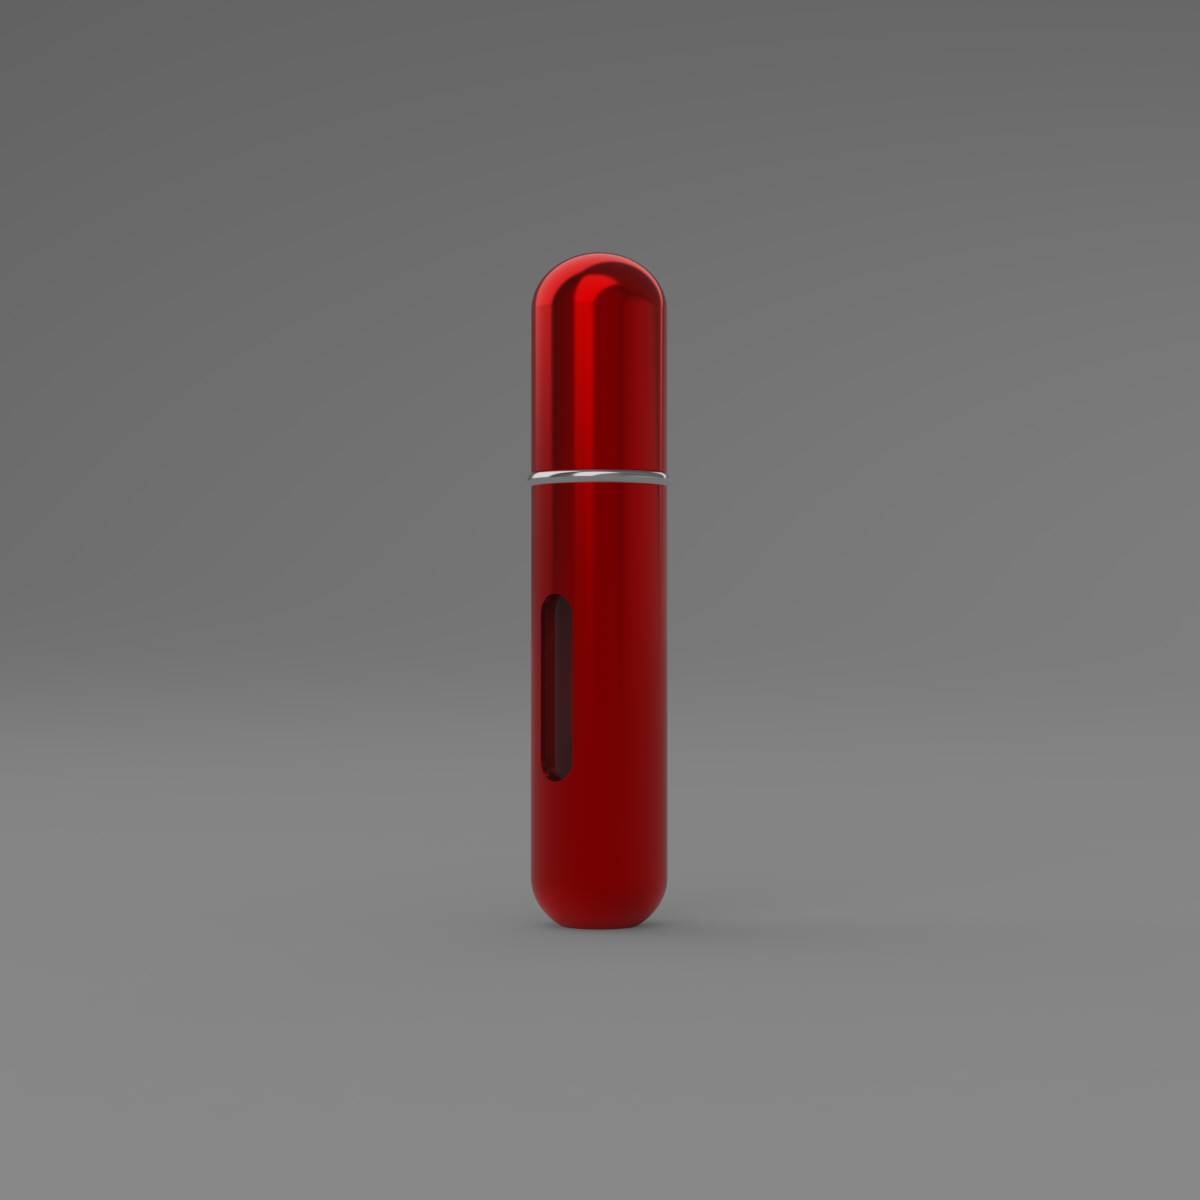
Using commands such as boolean split, array, and boolean difference, after 10 hours of work I realized that I had completed a perfect watertight model of the atomizer. Although I had been initially worried about the project while taking the measurements, I realized for the first time by the end that I was actually capable on Rhino and my rendering skills were also something to be proud of.

Project 5: 3D Printed Chess Set
for this project, I felt that creating the chess pieces was a somewhat easy task after completing the reverse-engineered object assignment. However, the true struggle was learning how to use Prusa Slicer and finding out solutions to objects that were either likely to fail on the printer or used too many supports. I ended up spending hours re-configuring the objects, but after I had completed the difficult part of figuring out how to print my objects, I found that once I had set up the print and booked a printer the assignment turned out to be really really fun. I even decided to go the extra mile and print an entire set.


Comments
Post a Comment