Final Bespoke Object.
This drawing, a second bespoke creation honed in on my drawing practice and my research into eco-feminism, ecology and technology. This creation is the first traditional sculpture I have made in my time at AUArts, which is funny because I will be graduating in May.
This sculpture will explore the materials of sculpting in 3D software's such as mesh mixer, and its translation onto a 3D print bed. I aim to embrace the material quality of a 3D printed object, with its ridges and texture being quite distinct from any other form of fabrication. This embrace of materials is crucial to the content of the sculpture because I will focus on the concept of objectifying women and their bodies by quite literally objectifying my body through 3D scans and printing.
I have often found myself creating objects in this class simply because it will be fun or because I think it will be cool, but rarely have I been able to find an intersection between my object design practice and my drawing practice. In my Drawing practice, however, I create paintings to explore what it means to be dominated by the patriarchy, I often gravitate to topics such as menstruation, consent, pain and colonization of women's bodies.
That is why I have chosen to create this piece, because I wanted to challenge myself to create something that explores these themes, as the body is plastered onto a wall, stagnant, but still taking up space. The 3D printed material is juxtaposed with natural cotton twine, a product of human labour rather than mechanical and of organic material unlike PLA. This contrast highlights the duality of what is hardened and constrained like a cast over a body and what is free yet still tightly bound to the form, a restricted freedom; much like the lived experiences of women.
an excerpt from my graduate paper;
"The Harvested Body is a personal eco-narrative, a powerful form of protest art, and a visual exploration of the intersections between environmentalism, ecology, and feminism. The work collages painted portraits of trees, valleys, seeds, and roots with imprints of the female body in natural pigments on rag paper. Together, these elements aim to highlight the wounds the female body and nature suffer under the exploitation and domination of patriarchal systems. The work analyzes the connection between our struggles, articulated by prominent eco-feminist writers such as Maria Mies and Vandana Shiva. The Harvested Body explores the topics of industrialized farming, biodiversity loss, land colonization, and climate change through parallels to the shortcomings of the modern medical system and the topic of rape culture. Each of these topics draws from themes of domination, birth, decay, and regeneration. Creating a sustainable and equitable future requires recognizing the similarities between women's and nature's oppression; when women are empowered to resist and heal, they become the environmental stewards the world needs."


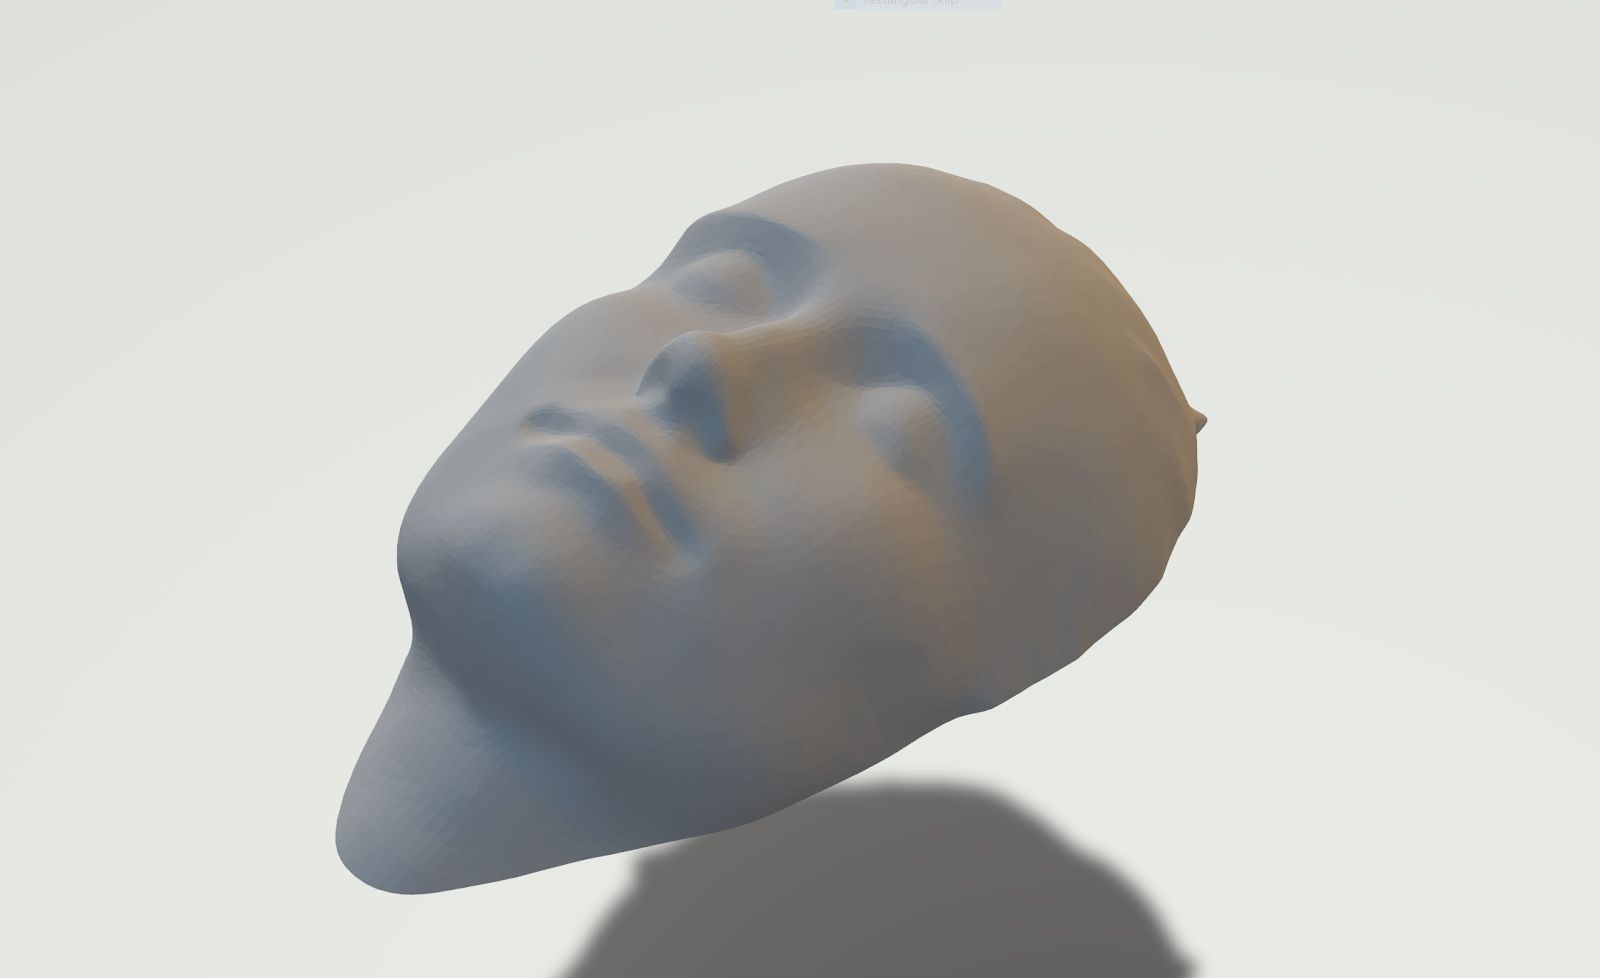
I began this process through experimenting with the 3D scanners in the lab, this was a challenge for me because at this moment, only a few students have tried using the 3D scanners, let alone to the scale I have. This was difficult because I was able to create a bust essentially, but there were still several growing pains involved. Peter was not comfortable yet with the software namely, so I found that several areas of this scanning process was self directed. That being said I still got some decent scans, especially of my face which I translated well to the slicer for the Prusa Xl. The prints were quite long of course, even with only 5% infill and on fast quality detail, but after 15 hours I had a perfect 3D printed replica of my face


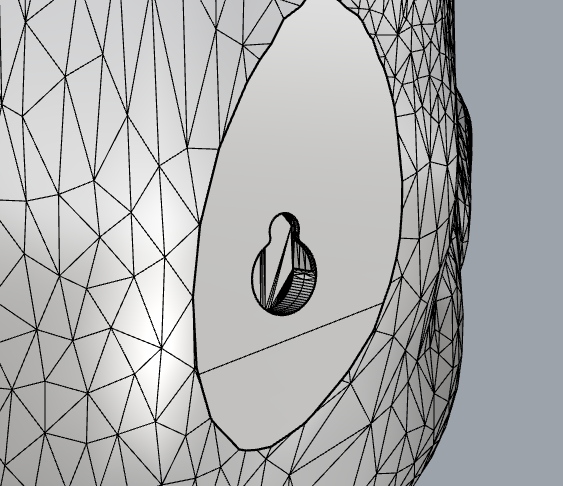
I was also able to work over my designs once they were prepared to create some spaces for where the hardware could interact with the design for a seamless installation. Personally, this was the simplest part of the design process and I am so glad I took the time to go the extra step.
That is not to say that the scans were always able to be easily translated, I wanted to create the appearance of my body being sectioned off or fragmented. Yet, I had an entire bust of myself. So I found that I needed to boolean mesh difference several sections in Rhino until they were to a size that was similar to what I hoped for.
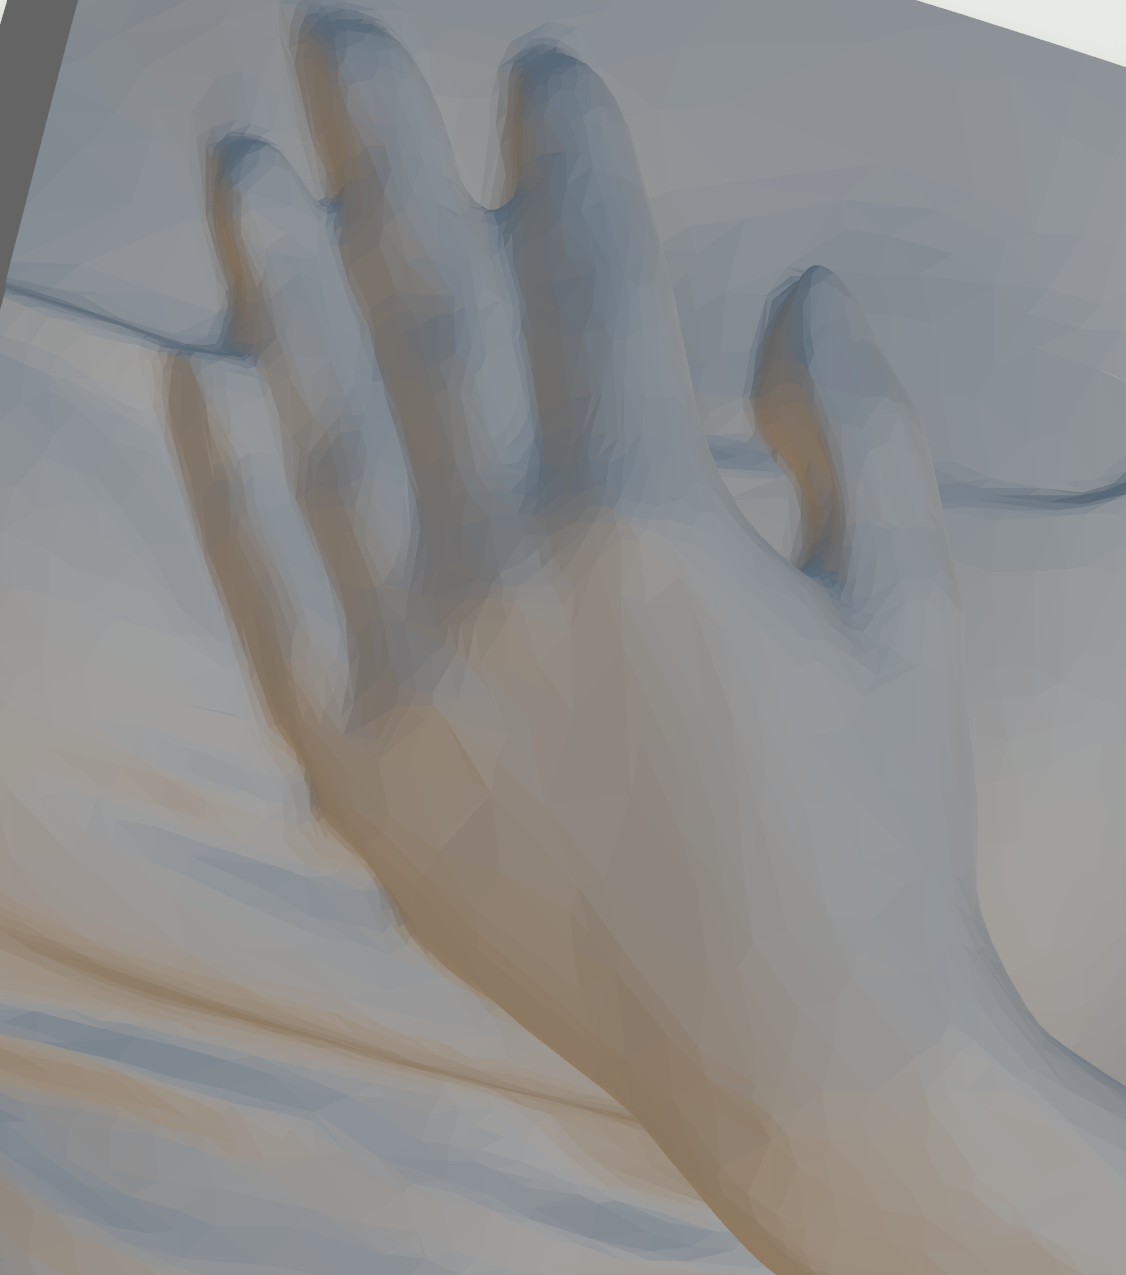
That was when I later imported the files into mesh mixer, I still happened to have an old version of the application downloaded on my personal computer thankfully. because of this, I was able to avoid needing to learn how to use blender. However, this process was still incredibly challenging because as I got closer to the scan, I noticed that there were several cracks in the scan, but I was able to remedy this with some reworking.
After a considerable amount of time with the clay brushes I was able to use the magnet brush to pull the cracks together, of course, if I had known there was zipper tool to fix this I would have saved myself roughly 45 minutes. However, the mesh was still looking good regardless and I was ready to smooth out any imperfections and move on to the 3D printing process.


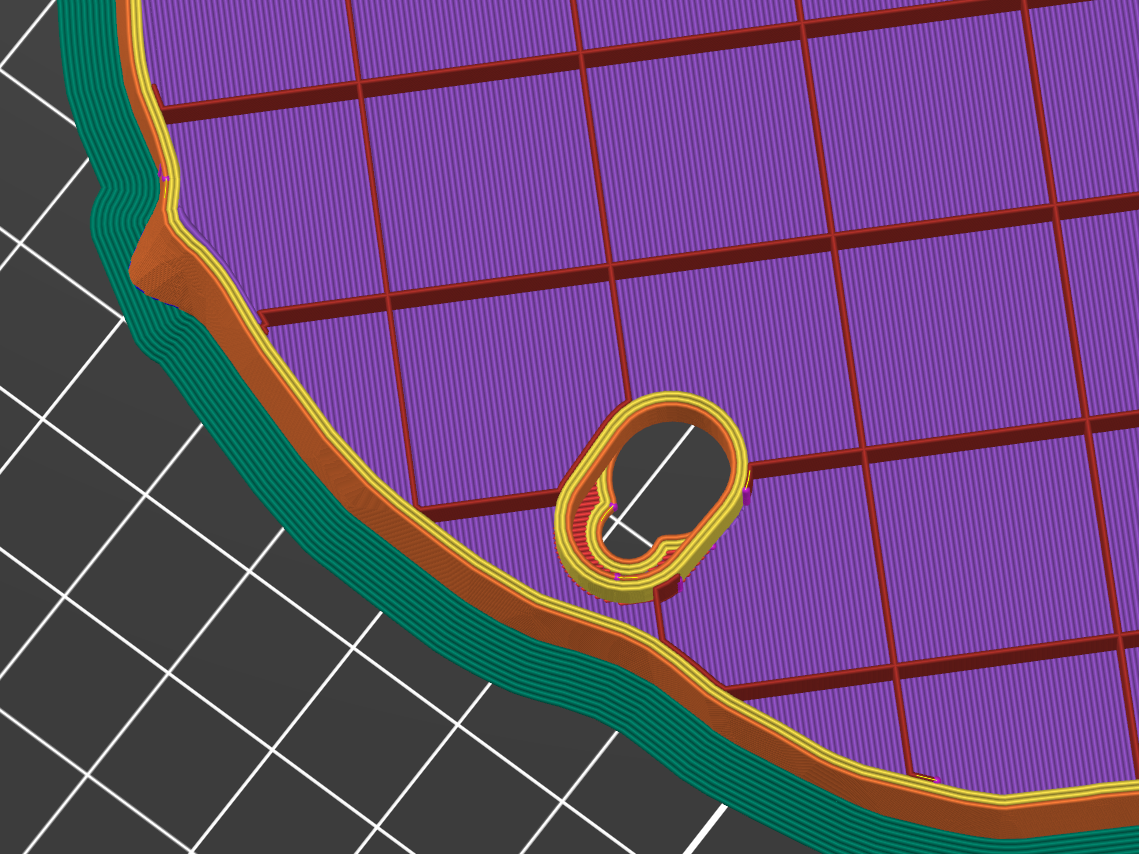
Once I had prepared the files they were more than ready to print, of course I still had several hiccups, especially with the thing tank running out of filament for the printers! I had also sliced my print and experimented with what way would be most effective to use support material, but even then the shortest estimated print time was still well over 15 hours. In this scramble for time and for materials, I began to really worry about if I was able to pull this off.
Despite the stress and anxiety about my project however, I was able to get all of my pieces printed off. I was absolutely ecstatic about this and I will never be able to thank Peter and the other techs enough for handling my print and taking care of business. Overall, I found that the print quality was excellent despite it being printed in fast detail. I also enjoy that because the infill was st to 5% the objects are very light but still durable, making it perfect for installation.
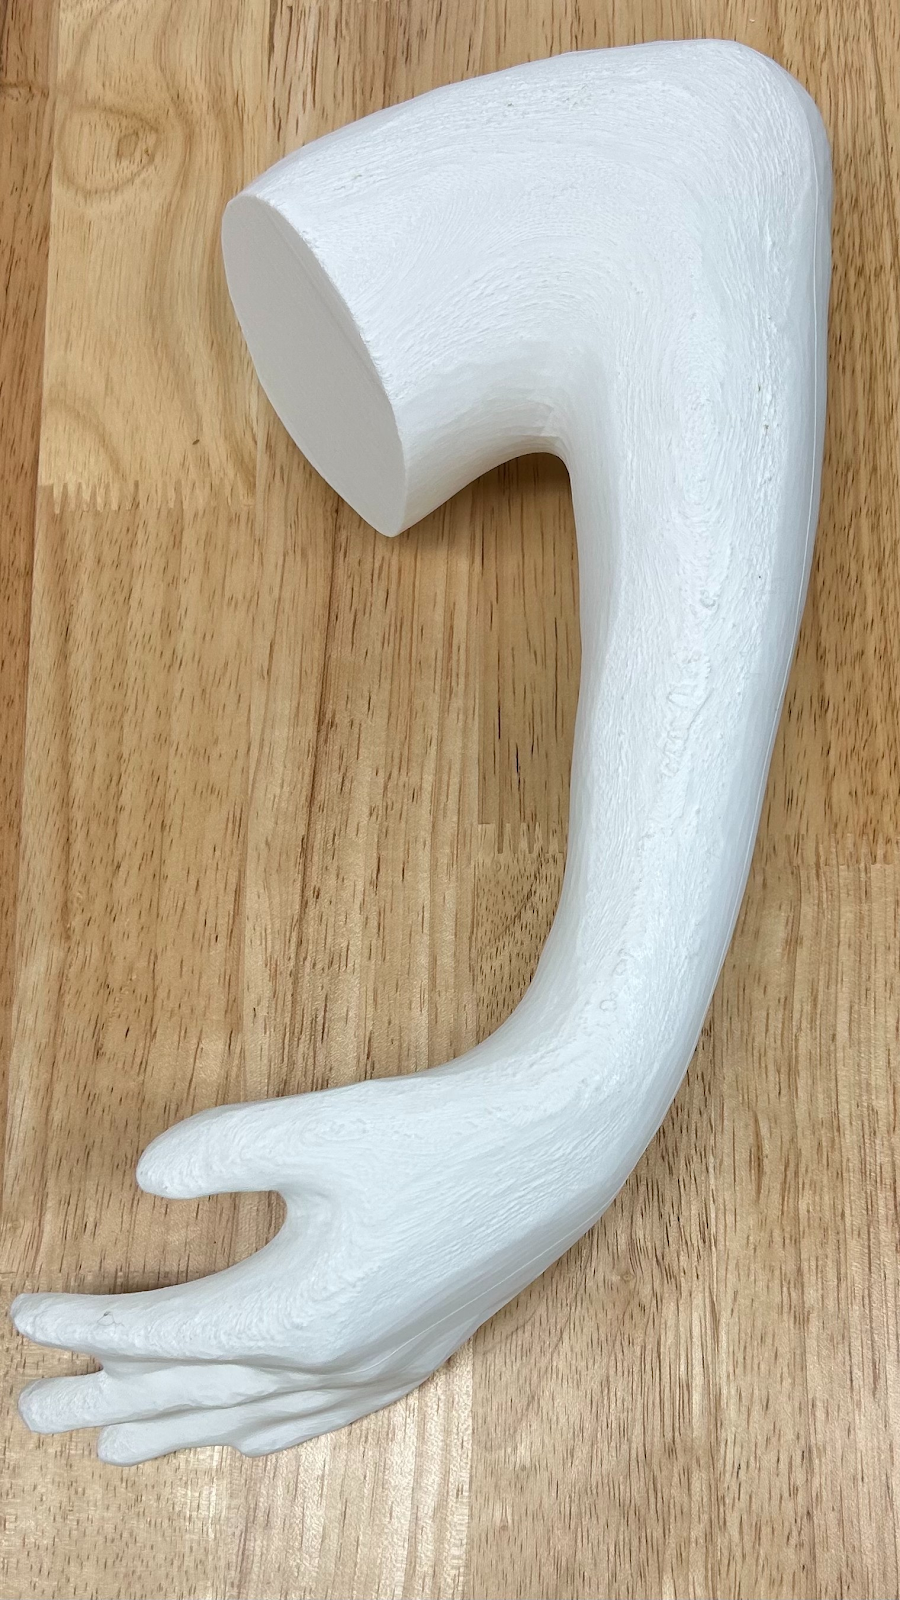
Final installation images;
"Translated Body" Marina Dawson, PLA and twine scultpure, 8"x14" 6"x 18", 2025


Comments
Post a Comment